

June 04, 2016
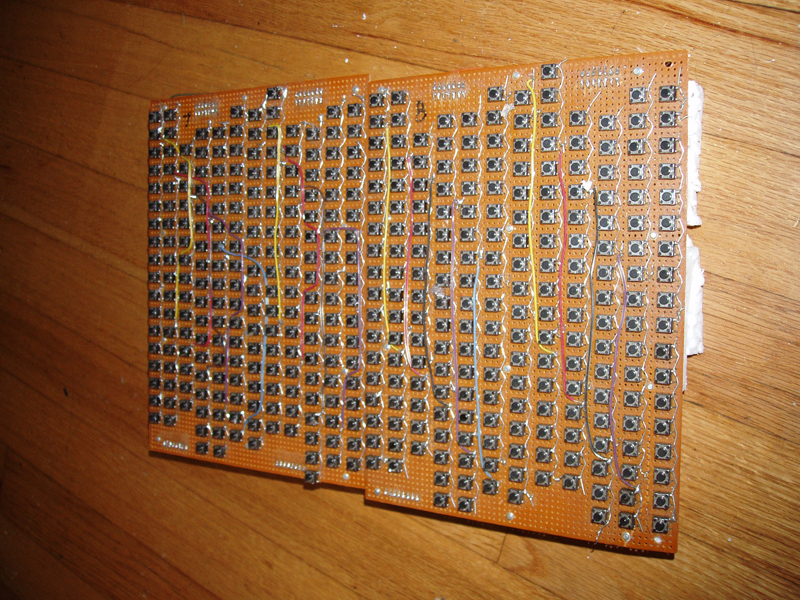
The 8-octave prototype Tonal Plexus which I built in 2004 is now for sale. Two modules work together to scan 8 octaves of keys and send GM microtonal output (round-robbin pitch bend polyphonic output using the same method as standard Tonal Plexus keyboards). This is the first keyboard I built having the isomorphic octave pattern (similar to Bosanquet and Fokker) used in the standard Tonal Plexus keyboards; that is, where each octave has 211 keys for 205ET with 6 keys repeating at the triple-sharps / triple-flats. The switches are of the low profile tactile variety. There are no key caps. Sustain and volume pedal inputs, MIDI IN/OUT/THRU, 6-position numeric LED display, and small control/programmer module for selecting presets (tuning/bank/patch, same as standard Tonal Plexus). It is mounted on masonite divided into sections and joined together with mending plates.
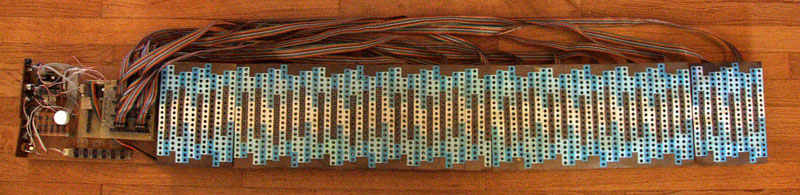

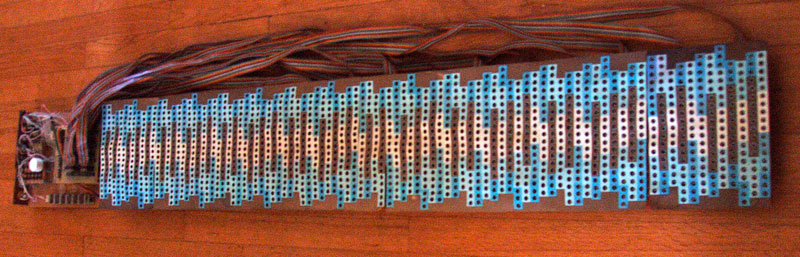
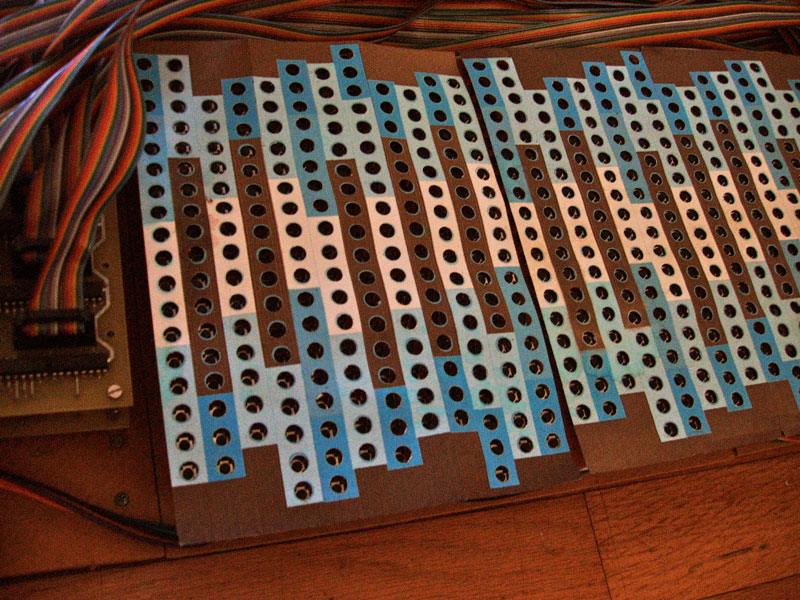
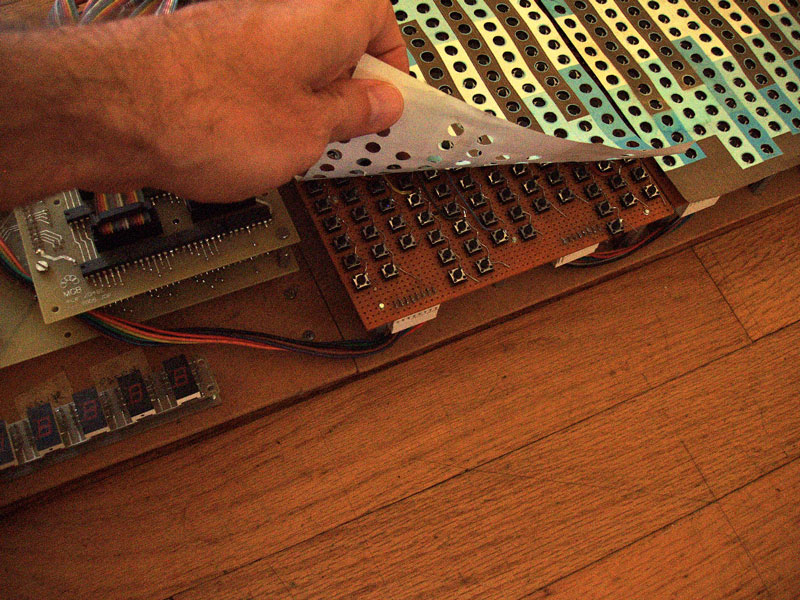
Paper overlays having the standard Tonal Plexus octave graphics with holes punched for all the keys are placed over the switches. The paper is in rather poor condition. An industrious owner could make new overlays (I can supply the design files).
The keyboard ships in sections for the owner to connect and mount. Below I show the process of preparing the keyboard in its shipping box, showing how the keyboard will need to be put back together.
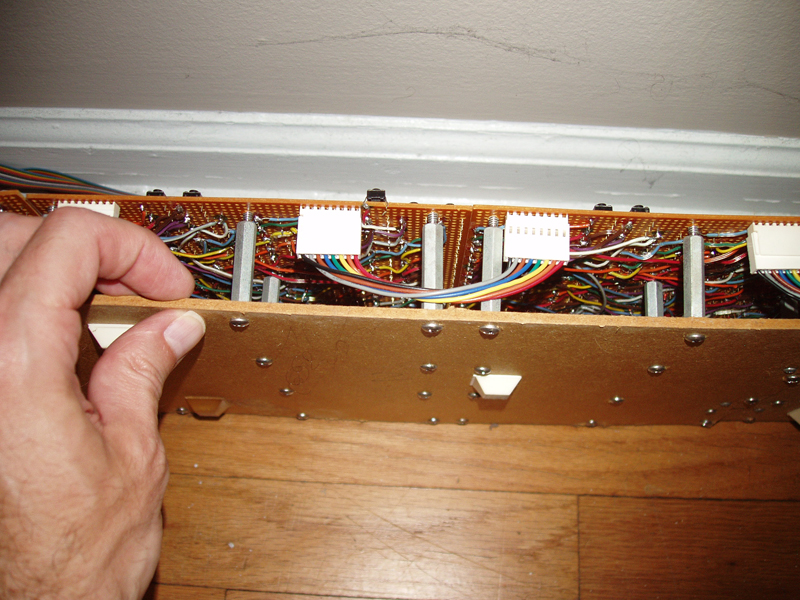
Here is the underside of the controls.
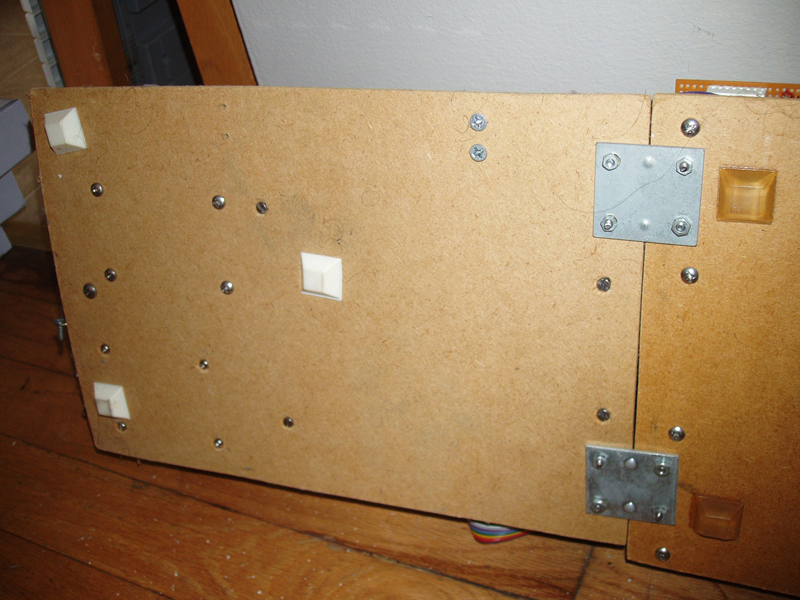
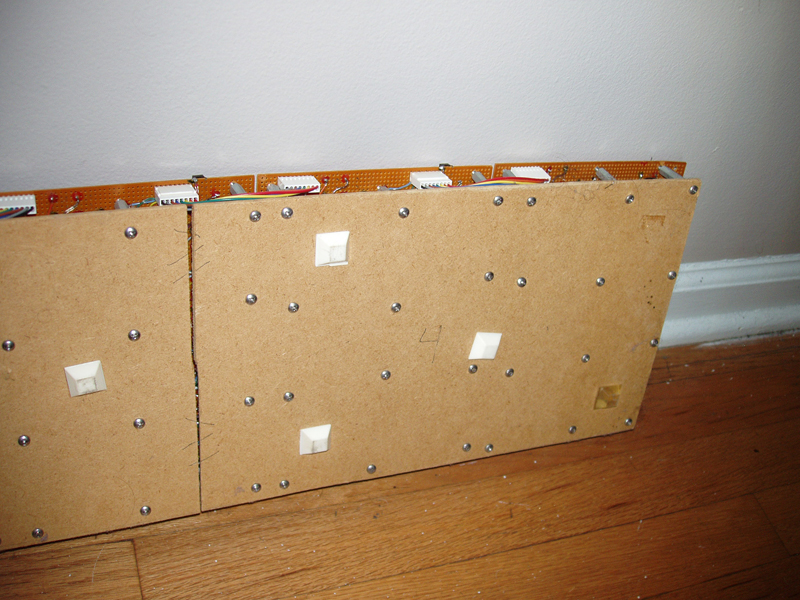
Each section is numbered, and marks along adjoining edges show how pieces should be connected.
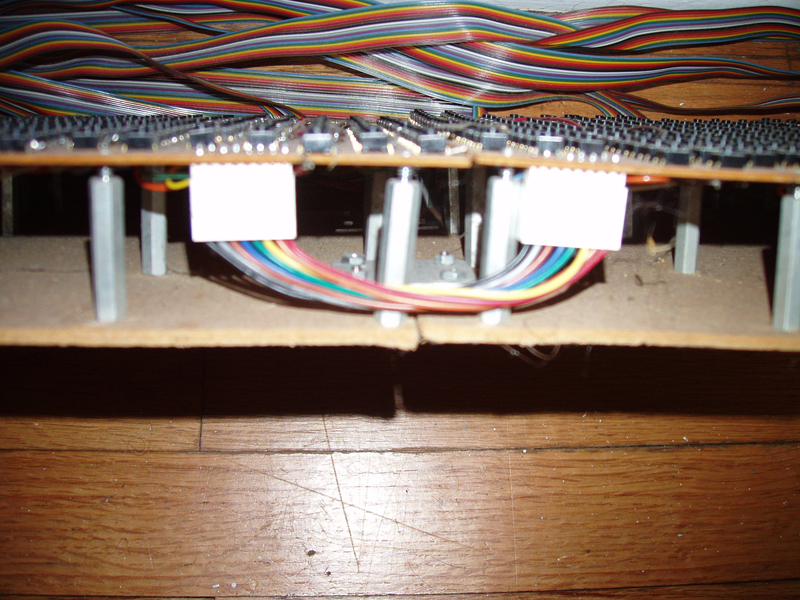
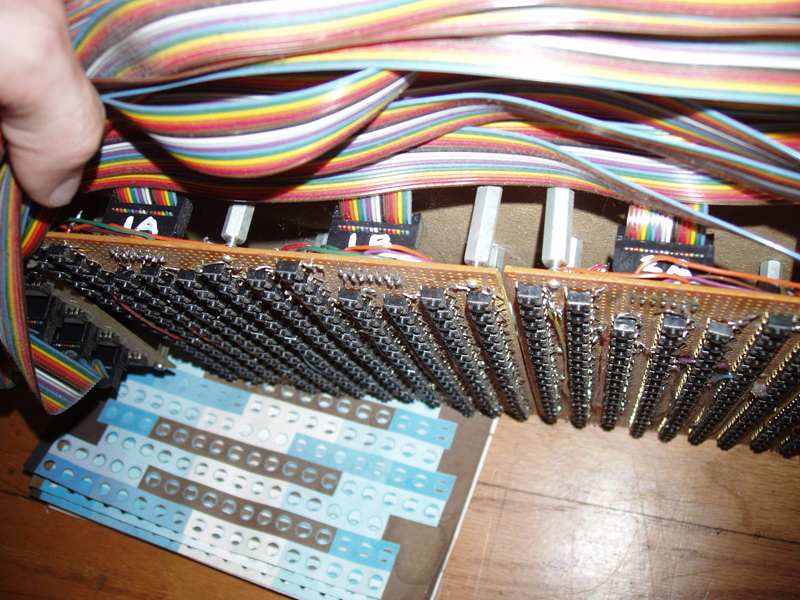
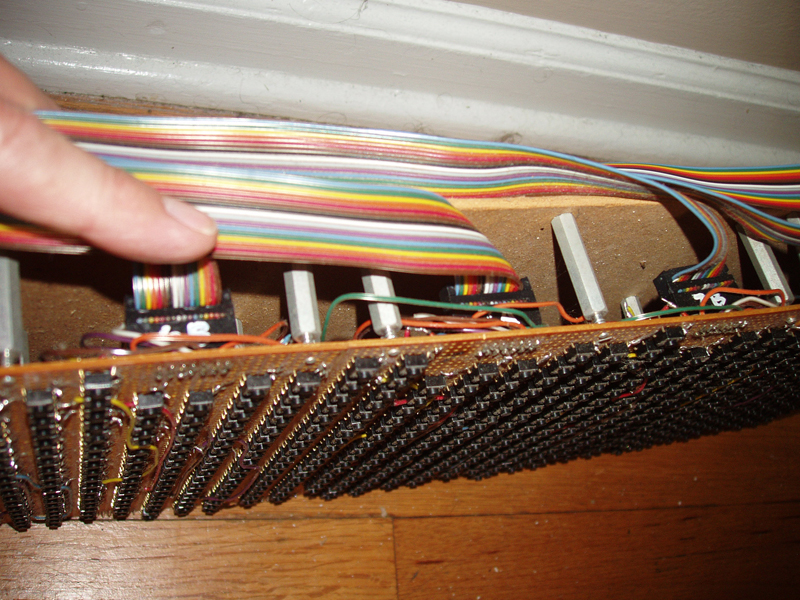
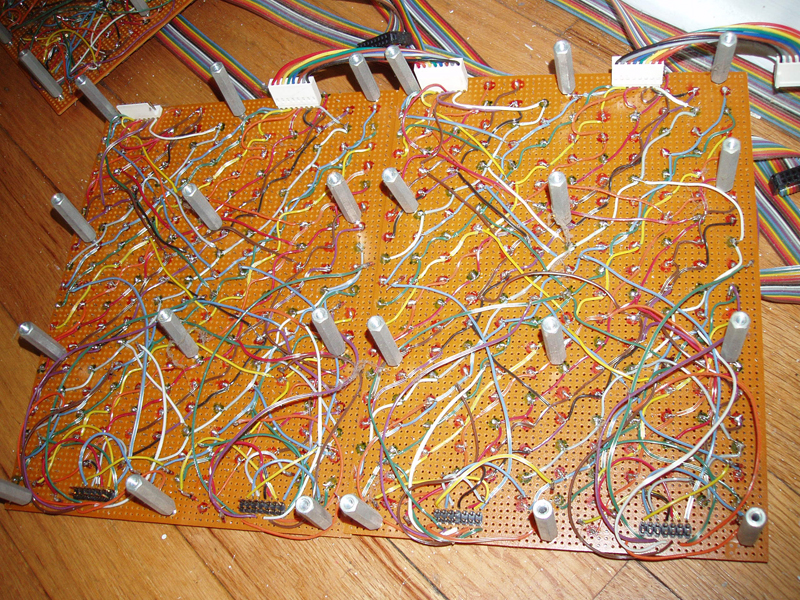
The encoder uses a scanmatrix having "rows" and "columns". Each "column" corresponds to a MIDI channel. The "rows" are eight wires connected sequentially across all octaves by the cable I'm holding in the photo below.

Each octave is connected to the next with a jumper cable (this is the "rows" part of the scanmatrix).
Note that the order of the colors left to right is the same from one octave to the next.
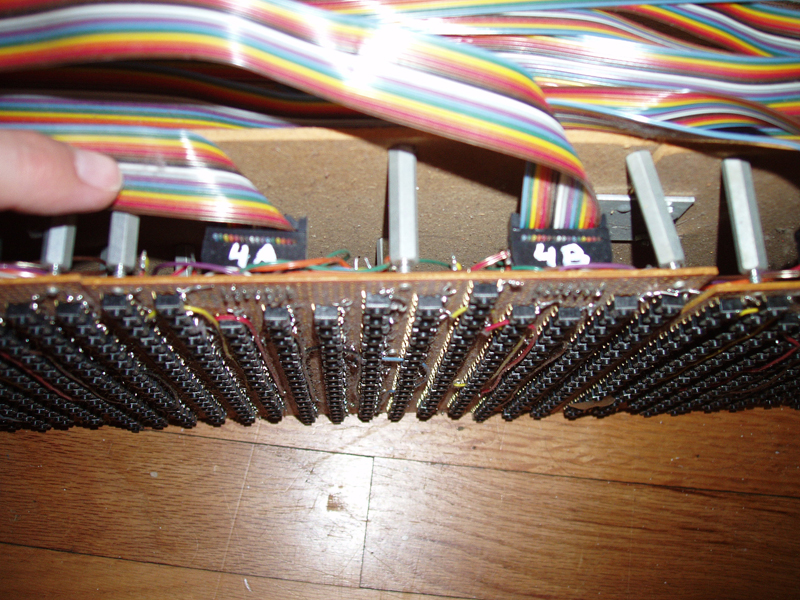
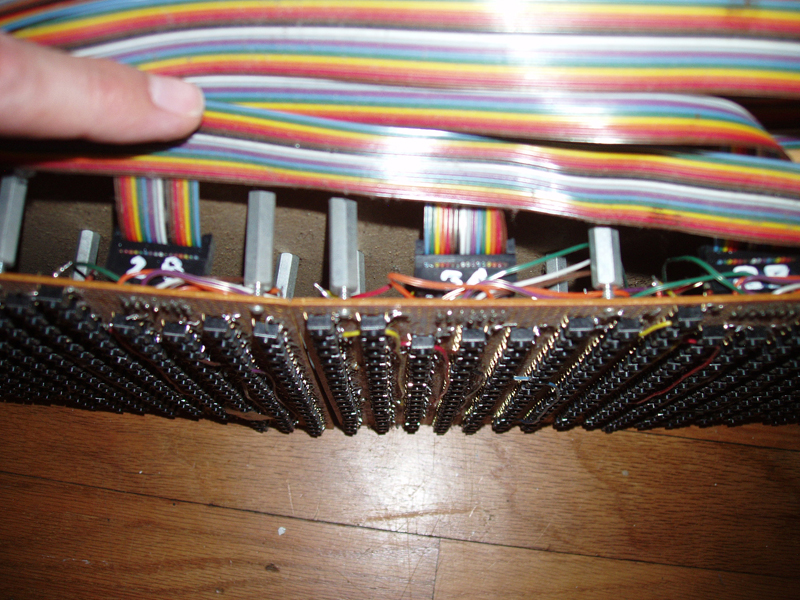
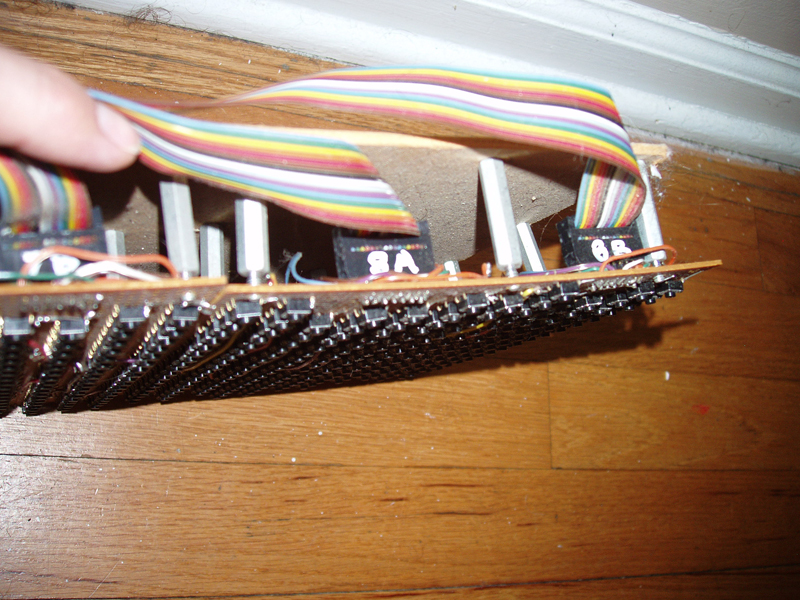
The "columns" of the scanmatrix are connected to each octave with two 16 conductor ribbon cables. Each cable represents one MIDI channel, and each connector is marked with the octave number and an "A" or "B", from left to right.
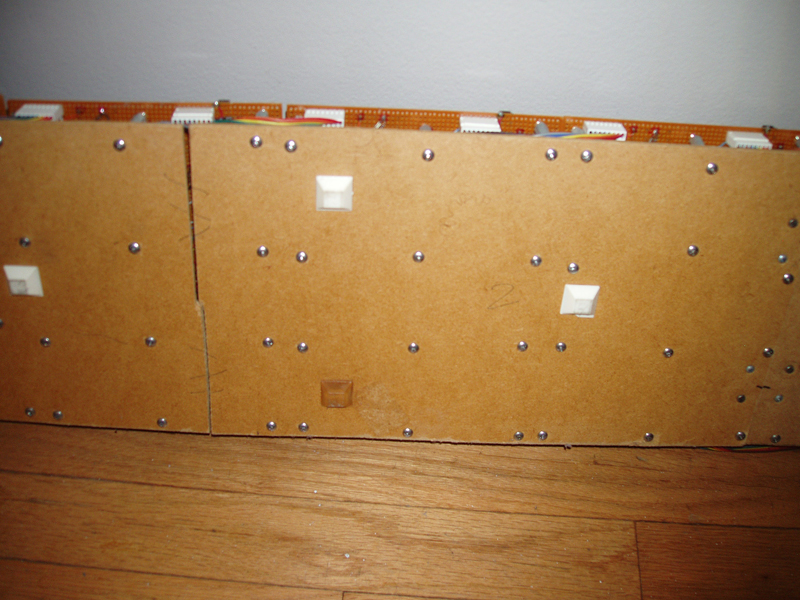
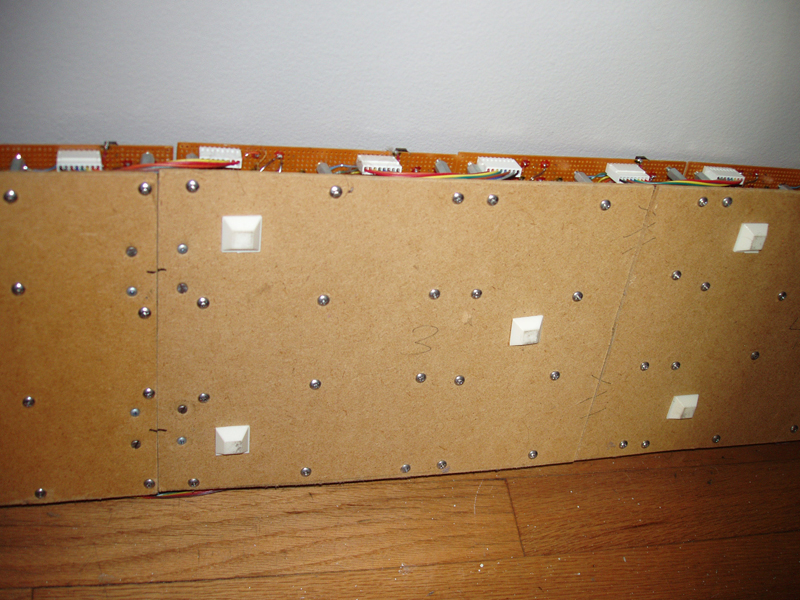
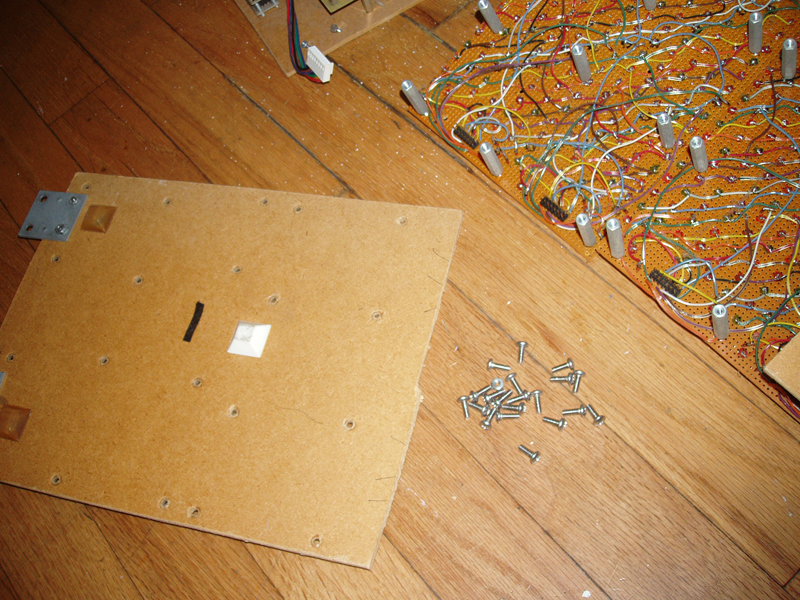
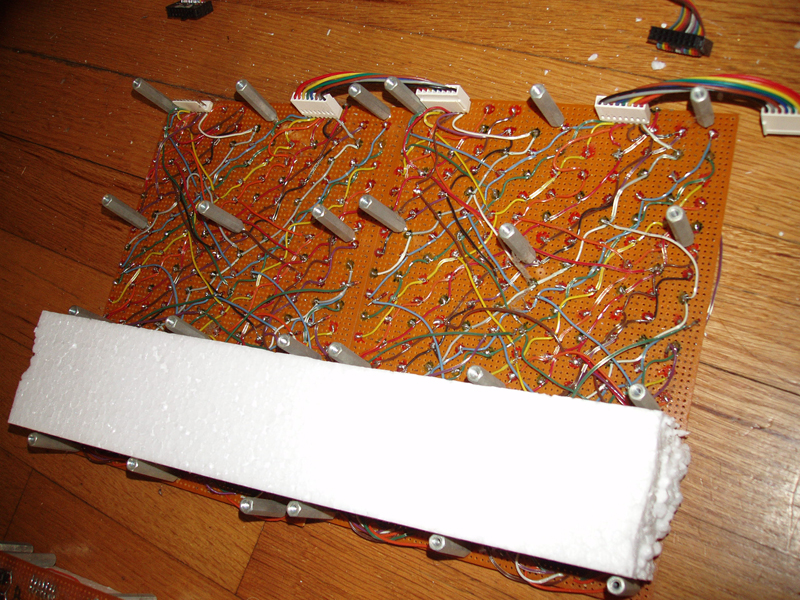
Each octave is mounted by 16 standoffs (this may seem like overkill, but I wanted it to be strong, with more support than necessary in order to avoid trouble.
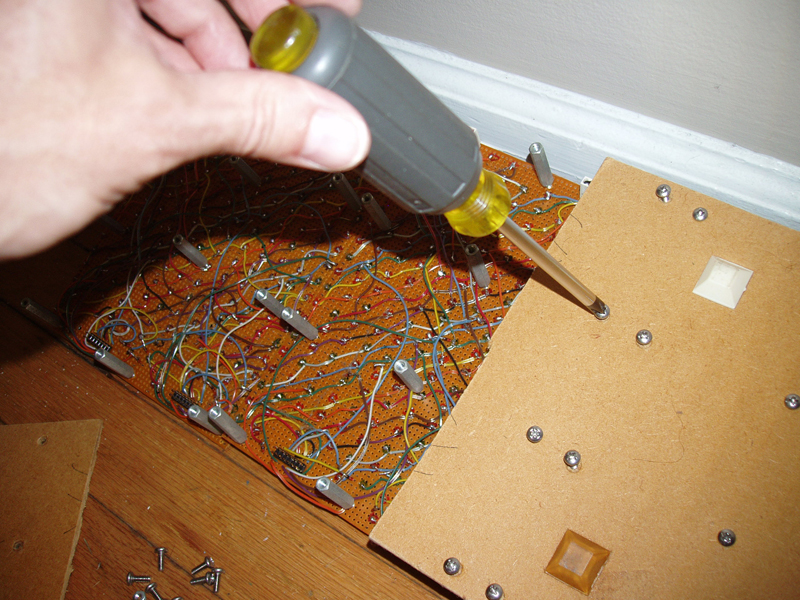
Once the screws are removed, the mounting panel can be separated from the standoffs.
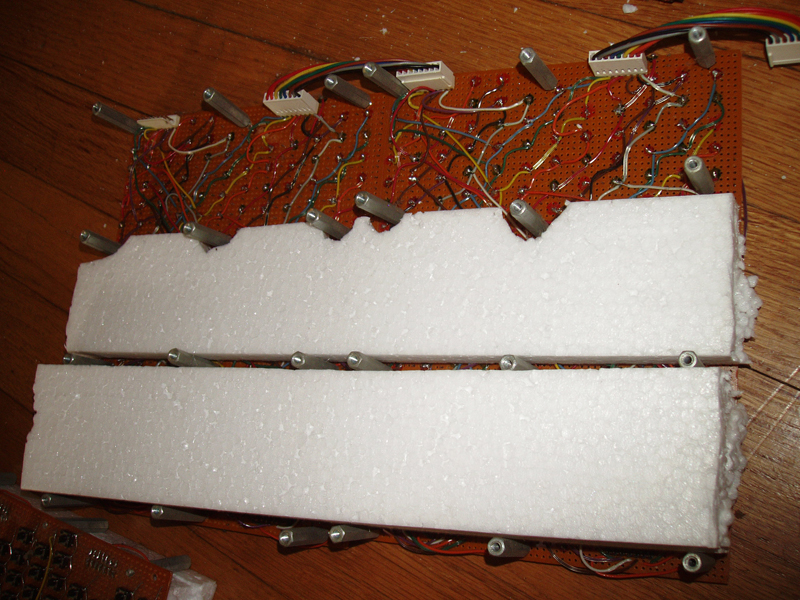
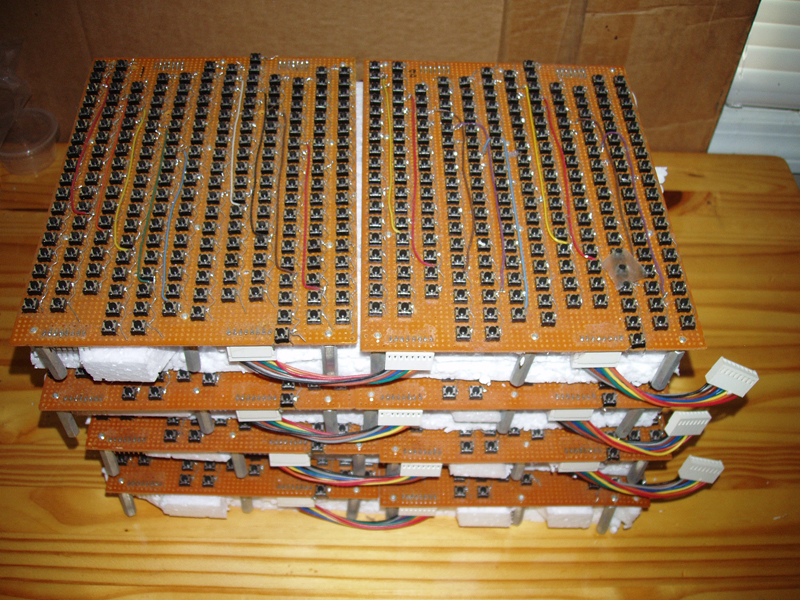
I decided that removing all the standoffs as well wouldn't gain much advantage in shipping. Instead, two layers of styrofoam are placed between the standoffs and the octaves are prepared in pairs like so.
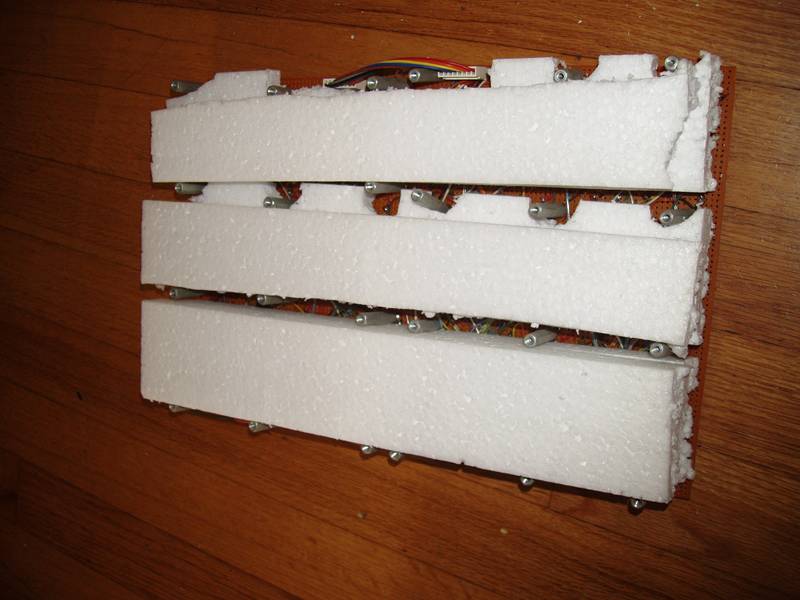
The process of adding each layer is shown below.
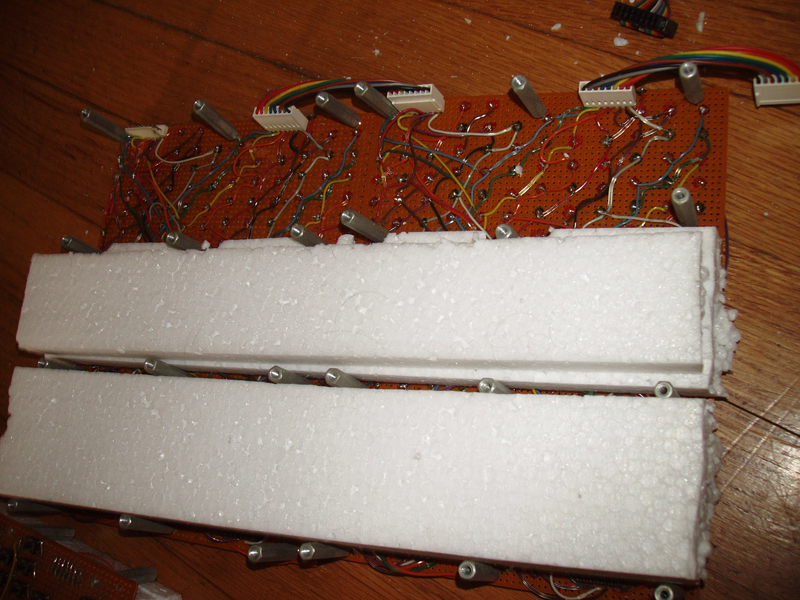
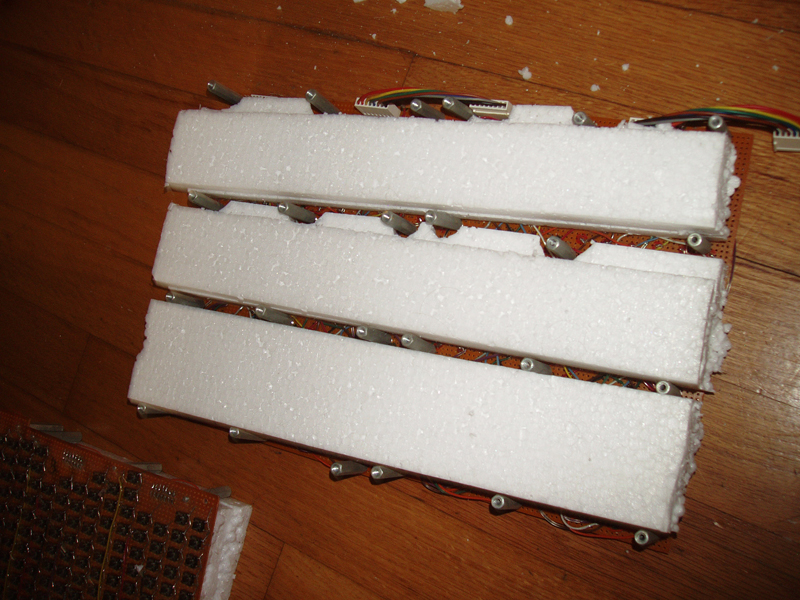
This makes the octaves easy and safe to stack.
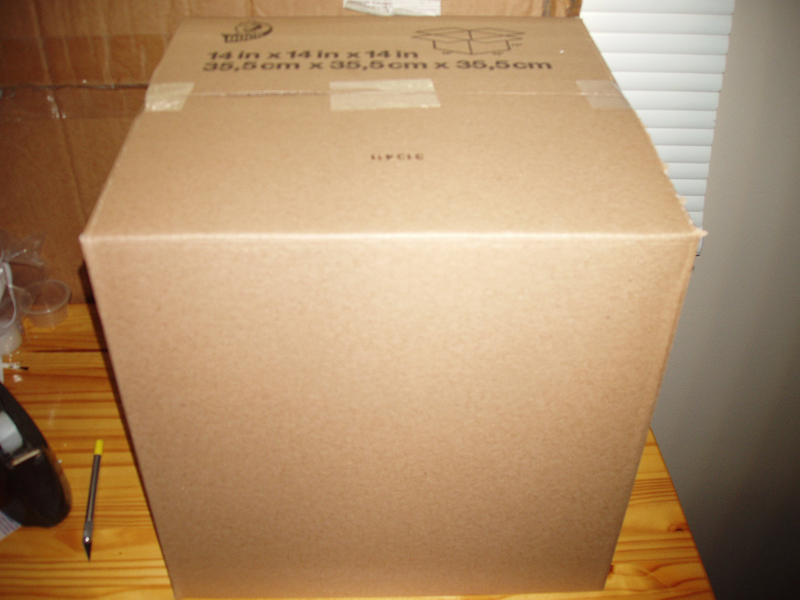
Eight octaves along with control modules, mounting boards, hardware, and power supply — everything fits neatly into a 14" x 14" box.
You may have to solder a wire now and then to keep everything working, but overall this keyboard is very stable.
If you would like to own this prototype, you can buy it now, or feel free to make an offer. Be sure to include your address when you do the latter.
Best Regards,
Aaron
[ Showing 1 entry | Next entry | Show all entries ]